Hearty Beef Bone Broth: The Foundation for Flavorful Soups
Prep time: 20 minutes | Cook time: 8-12 hours | Servings: 8-10 cups
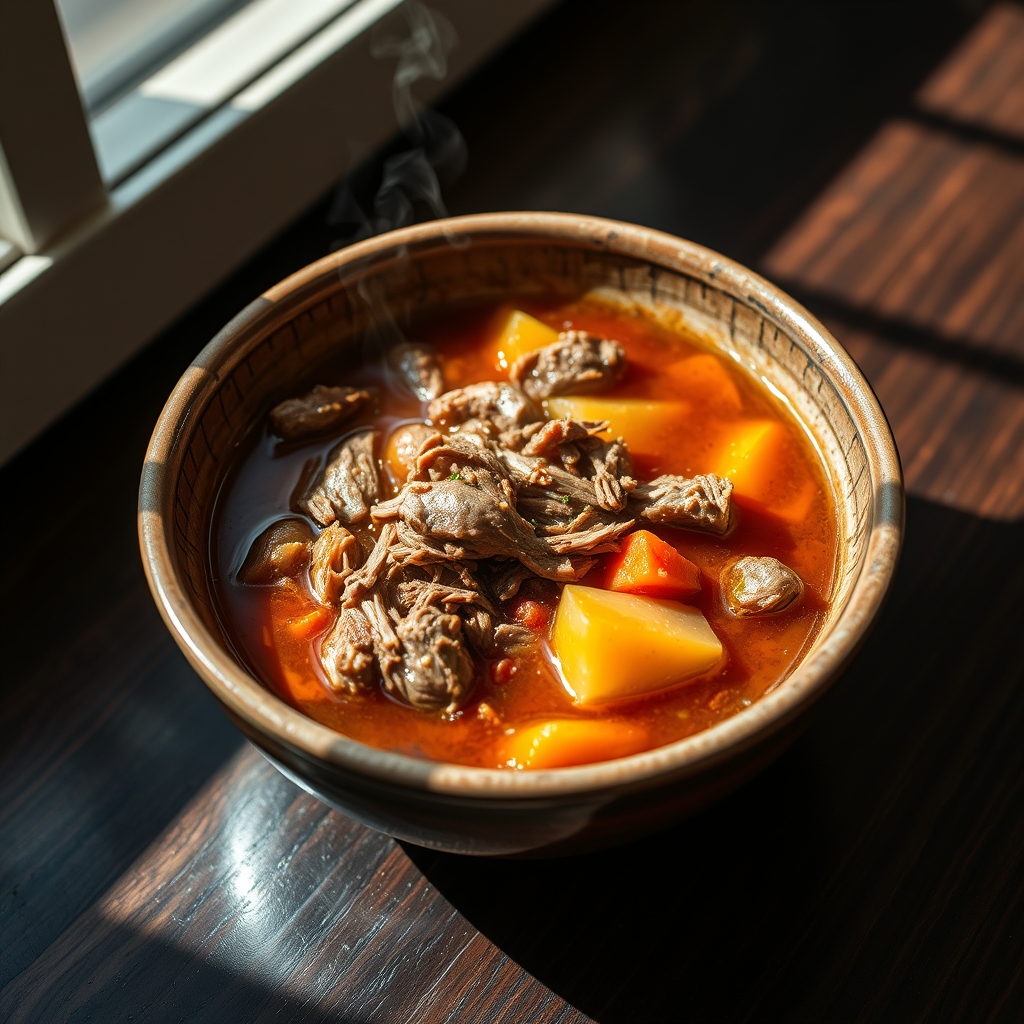
There’s something incredibly comforting about a rich, homemade soup. And at the heart of every truly exceptional soup lies a deeply flavorful broth. While many recipes rely on store-bought stock, nothing compares to the nourishing goodness and complex taste of broth made from scratch, especially when using beef soup bones. These bones are the secret ingredient that will elevate your next beef stew, ramen, or simple vegetable soup from good to absolutely unforgettable.
Making your own beef bone broth might sound intimidating, but it’s surprisingly simple and requires minimal hands-on effort. The magic happens slowly, as the bones release their collagen and minerals into the water, creating a liquid that is both incredibly nutritious and packed with savory depth. This recipe focuses on building that foundational flavor, giving you a versatile base that you can use in countless soup and stew creations. Forget bland and watery; get ready for a broth that sings with flavor.
Why Use Beef Soup Bones?
Beef soup bones, also known as marrow bones or knuckle bones, are excellent for broth-making because they are rich in gelatin and connective tissue. When simmered for extended periods, these components break down into rich gelatin, which gives bone broth its characteristic body and satisfying mouthfeel. This gelatin is not only responsible for great texture but also packed with beneficial amino acids like glycine and proline, often lauded for their potential health benefits.
Beyond the nutritional aspect, the marrow within the bones contributes a profound depth of flavor that is difficult to replicate. Roasting the bones beforehand is a crucial step that intensifies this flavor, adding nutty, caramelized notes to the final broth. This technique transforms a simple simmering process into a culinary adventure, unlocking layers of taste that will make your homemade soups sing.
Ingredients You’ll Need
- 3-4 lbs beef soup bones (a mix of marrow bones and knuckle bones is ideal)
- 1 large onion, quartered (skin on for color)
- 2 large carrots, cut into chunks
- 3 celery ribs, cut into chunks
- 4-5 cloves garlic, smashed
- 1 tablespoon whole black peppercorns
- 2-3 bay leaves
- 1 teaspoon dried thyme (or a few fresh sprigs)
- 1/4 cup apple cider vinegar (helps extract minerals)
- 12-16 cups cold water (enough to cover ingredients)
- Optional: A few sprigs of fresh parsley
How to Make Rich Beef Bone Broth
Step 1: Prepare and Roast the Bones
Preheat your oven to 400°F (200°C). Arrange the beef soup bones in a single layer on a large baking sheet. Roast for 30-40 minutes, flipping halfway through, until the bones are nicely browned and fragrant. This roasting process is crucial for developing a deep, rich flavor in your broth, and it also helps to render out some of the fat.
Step 2: Transfer to a Stockpot
Once roasted, carefully transfer the browned bones into a large stockpot or Dutch oven. Be sure to scrape any browned bits from the baking sheet into the pot – these are packed with flavor!
Step 3: Add Vegetables and Aromatics
Add the quartered onion, chopped carrots, chopped celery, smashed garlic cloves, black peppercorns, bay leaves, and thyme to the pot with the bones. Don’t worry about finely chopping the vegetables; they will be strained out later. Their main job is to impart flavor and aroma into the broth.
Step 4: Add Liquids and Simmer
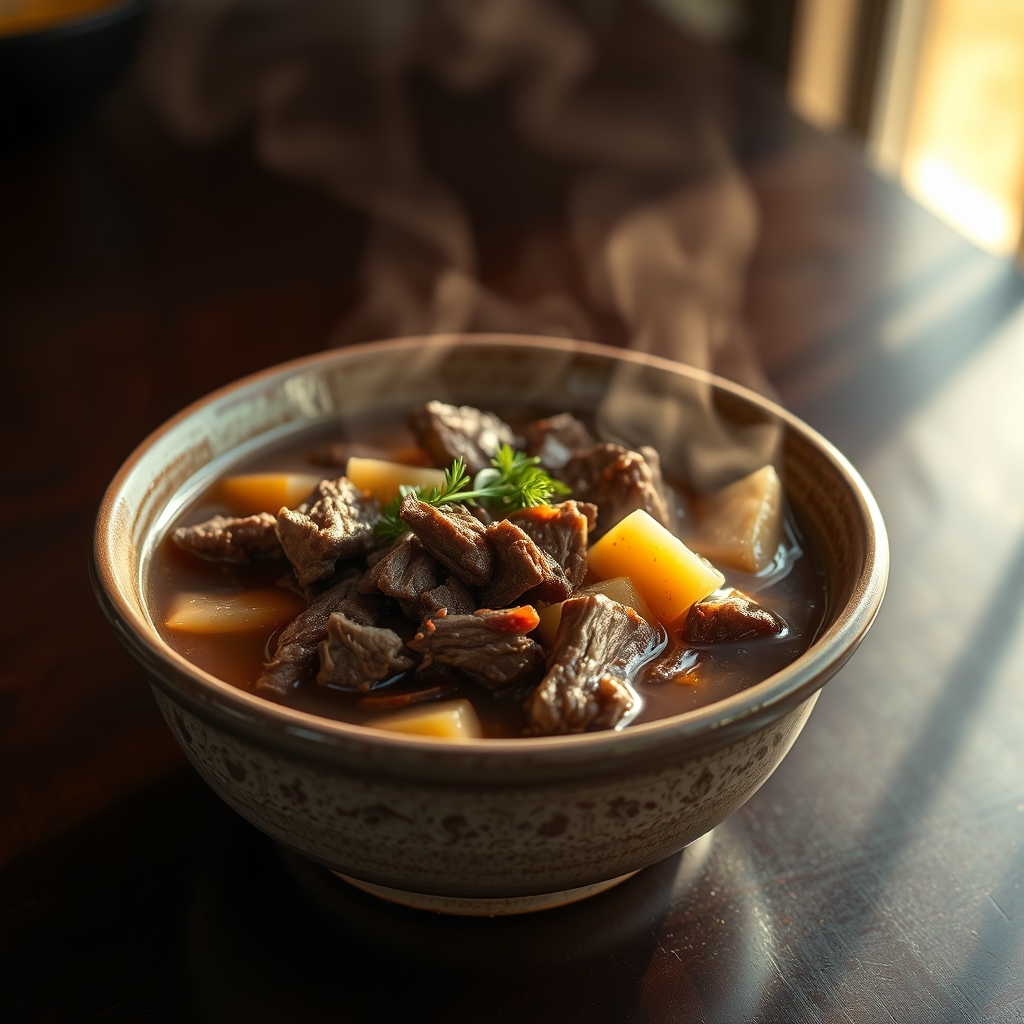
Pour in the apple cider vinegar and then add enough cold water to cover all the ingredients by about 1-2 inches. The vinegar helps to pull minerals from the bones, making your broth even more nutritious. Bring the mixture to a boil over high heat, then immediately reduce the heat to low.
Step 5: Skim and Simmer Gently
As the broth begins to simmer, you’ll notice foam and impurities rising to the surface. Use a fine-mesh sieve or a large spoon to skim off this foam and discard it. This step is essential for a clear, clean-tasting broth. Once skimmed, let the broth simmer gently, uncovered or partially covered, for at least 8 hours, and up to 12-24 hours. The longer it simmers, the richer and more flavorful it will become. Maintain a very low simmer; you should see only a few gentle bubbles rising occasionally.
Step 6: Strain and Cool
Once the simmering time is complete, carefully strain the broth through a fine-mesh sieve lined with cheesecloth (if you have it) into a large bowl or another clean pot. Discard the solids. If you’re planning to use the broth soon, let it cool at room temperature for about an hour, then refrigerate. If you want to store it for longer, pour it into airtight containers or freezer bags and freeze. You’ll notice a gelatinous layer form on top once chilled – this is a sign of a well-made broth!
Tips for the Best Beef Broth
Bone Selection Matters
For the best flavor and gelatin extraction, use a variety of bones. Marrow bones are fatty and rich, while knuckle bones and joint bones are packed with connective tissue. Ask your butcher for soup bones – they often have the best cuts available and can even trim and cut larger bones for you.
Water Quality
Use good quality, cold filtered water for your broth. This ensures that no off-flavors from tap water interfere with the delicious flavors you’re working to extract. Cold water also helps to slowly leach out impurities, leading to a cleaner broth.
Deboning Bones for Extra Flavor
After straining, you might find some tender meat still clinging to the bones. You can remove this meat and shred it to add to your soups or stews. It’s a delicious bonus!
Serving Ideas and Storage
Your homemade beef bone broth is incredibly versatile. Use it as a base for:
- Classic beef stews and pot roasts
- Hearty noodle soups like ramen or pho
- French onion soup
- Risottos and other grain dishes
- Simply sipping on its own for a nourishing drink, seasoned with salt and pepper.
Store your cooled broth in airtight containers in the refrigerator for up to 4-5 days. For longer storage, freeze it in portions – ice cube trays are perfect for small amounts that you can add to recipes as needed. Frozen broth will keep well for 6-12 months.
Conclusion
Making beef bone broth from scratch is a rewarding culinary practice that yields a superior product for both flavor and nutrition. The process is simple, and the results will transform your cooking. By investing a little time into simmering beef soup bones, you unlock a world of delicious possibilities for your favorite soups and stews. Enjoy the depth of flavor and the comforting warmth that only homemade broth can provide!