The Ultimate Awesome Beef Jerky Recipe: Homemade Perfection
Prep time: 30 minutes | Marinating time: 12-24 hours | Cook time: 4-8 hours | Servings: Makes about 1 lb of jerky
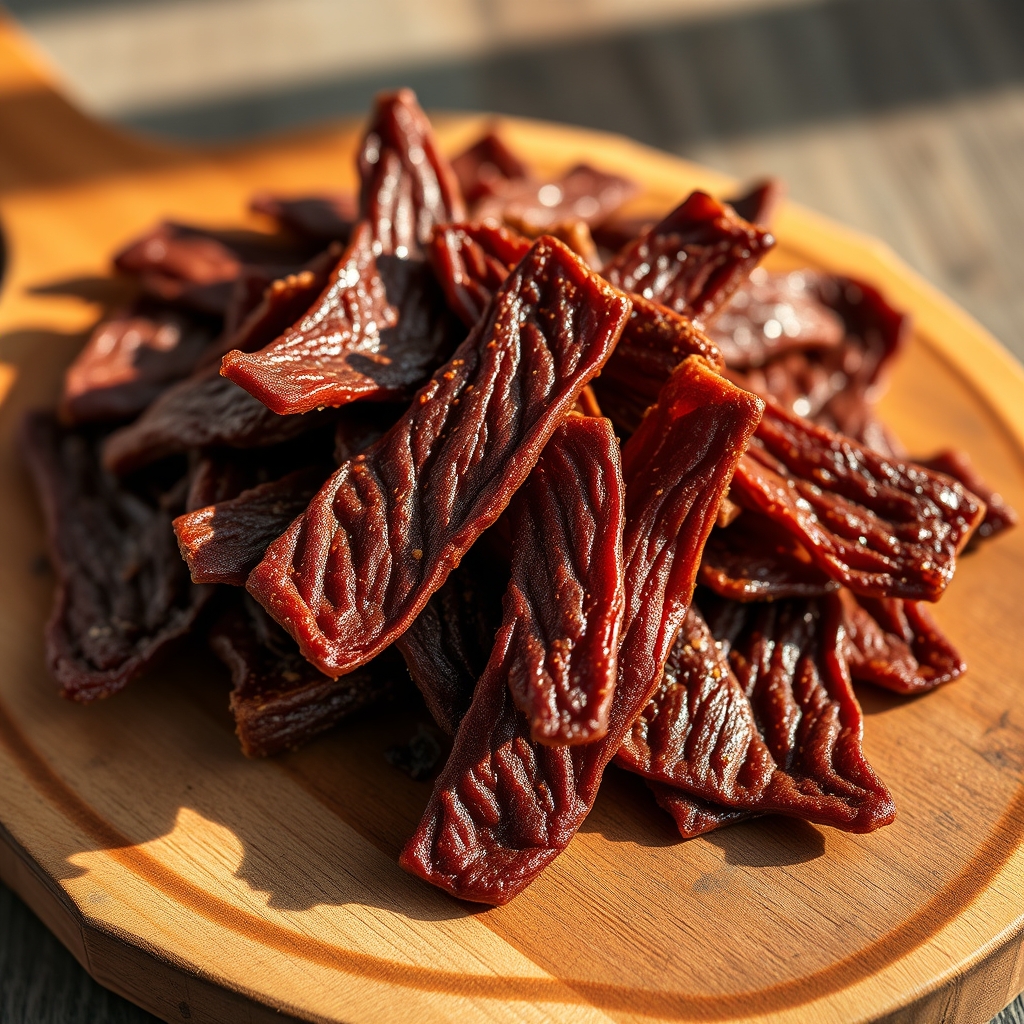
Forget those store-bought brands with their mystery ingredients and sky-high prices. Making your own beef jerky is not only incredibly rewarding, but it’s also a fantastic way to control exactly what goes into your snacks. This awesome beef jerky recipe is designed to deliver maximum flavor and perfect texture, every single time. Whether you’re a seasoned dehydrator or a beginner looking to dive into the world of homemade jerky, this guide will walk you through creating a delicious treat that will be the envy of all your friends.
Why Homemade Beef Jerky Reigns Supreme
There are countless reasons to embark on the journey of making your own beef jerky. Firstly, the cost savings are substantial. Buying quality beef and a few pantry staples will cost you significantly less per pound than pre-packaged jerky. Secondly, you have complete control over the ingredients. This means no artificial preservatives, no MSG, and no excessive sodium. You can tailor the flavors to your exact preferences, whether you love it spicy, sweet, smoky, or savory. Plus, the satisfaction of biting into a piece of jerky that you meticulously crafted yourself is unparalleled.
This particular recipe focuses on developing a deep, savory flavor profile with a hint of sweetness and a good amount of umami. We’ll achieve this through a simple yet effective marinade that penetrates the meat, ensuring every bite is packed with flavor from edge to edge. Once you’ve tried this awesome beef jerky recipe, you’ll likely never go back to buying it from the store.
Gathering Your Jerky-Making Arsenal
Choosing the Right Meat
The foundation of any great beef jerky is the cut of meat. For the best results, opt for lean cuts. This is crucial because fat doesn’t dehydrate well and can go rancid, affecting the shelf life and taste of your jerky. Excellent choices include:
- Flank steak
- Sirloin tip (knuckle steak)
- Eye of round
- Bottom round
When purchasing your beef, ask your butcher to trim off as much visible fat as possible. You’ll want to slice the meat against the grain for a more tender bite, or with the grain for a chewier, more traditional jerky texture. For this recipe, slicing against the grain is generally preferred for a more accessible chew.
Essential Equipment
While specialty dehydrators are fantastic, you can absolutely make amazing jerky using your oven or even a dedicated food dehydrator. Here’s what you’ll need:
- Sharp Knife: For precise slicing of the meat.
- Cutting Board: A sturdy board for slicing.
- Large Bowl or Resealable Bags: For marinating.
- Baking Sheets and Wire Racks (for oven method): To elevate the meat for even drying.
- Food Dehydrator (optional): If you have one, follow its instructions.
- Paper Towels: For patting the meat dry.
The Awesome Beef Jerky Recipe: Ingredients
This marinade strikes a perfect balance, creating a deeply savory and slightly sweet jerky that’s incredibly moreish. Feel free to adjust spices to your liking!
- 2 pounds lean beef (flank steak, sirloin tip, eye of round, or bottom round), fat trimmed
- 1/2 cup soy sauce (low sodium is fine)
- 1/4 cup Worcestershire sauce
- 2 tablespoons brown sugar (or honey/maple syrup for a different sweetness)
- 1 tablespoon liquid smoke (optional, but adds a great smoky flavor)
- 1 teaspoon black pepper, freshly ground
- 1 teaspoon garlic powder
- 1/2 teaspoon onion powder
- 1/4 teaspoon red pepper flakes (optional, for a bit of heat)
How to Make This Awesome Beef Jerky
Step 1: Prepare the Meat
Place your trimmed beef in the freezer for about 30-60 minutes. This will make it much firmer and easier to slice thinly. Once partially frozen, slice the beef against the grain into uniform strips about 1/8 to 1/4 inch thick. Thinner strips will dry faster and result in crisper jerky, while thicker strips will be chewier.
Step 2: Mix the Marinade
In a large bowl, whisk together the soy sauce, Worcestershire sauce, brown sugar, liquid smoke (if using), black pepper, garlic powder, onion powder, and red pepper flakes (if using). Ensure the brown sugar is well dissolved.
Step 3: Marinate the Beef
Add the sliced beef strips to the marinade. Toss to ensure every piece is coated evenly. You can do this in the bowl or transfer everything to a large resealable plastic bag for easier handling and fewer dishes. Refrigerate for at least 12 hours, and up to 24 hours, for maximum flavor penetration. Turn the bag or stir the contents occasionally to ensure even marinating.
Step 4: Prepare for Drying
Once the marinating time is up, remove the beef strips from the marinade. Discard the leftover marinade. Pat each strip thoroughly dry with paper towels. This step is crucial for proper drying and prevents the jerky from becoming mushy or greasy. Arrange the strips in a single layer on your dehydrator trays or on wire racks set over baking sheets. Ensure there is space between each piece for air to circulate.
Step 5: The Drying Process
Oven Method: Preheat your oven to its lowest temperature setting, typically between 170°F and 200°F (77°C to 93°C). Place the baking sheets with the jerky in the oven. Prop the oven door open slightly with a wooden spoon to allow moisture to escape. This process can take anywhere from 4 to 8 hours, depending on the thickness of your jerky and your oven’s consistency.
Dehydrator Method: Arrange the strips on the dehydrator trays and set the temperature according to your manufacturer’s instructions, usually between 160°F and 165°F (71°C to 74°C). Dehydration typically takes 4 to 7 hours. Check the jerky periodically.
Step 6: Checking for Doneness
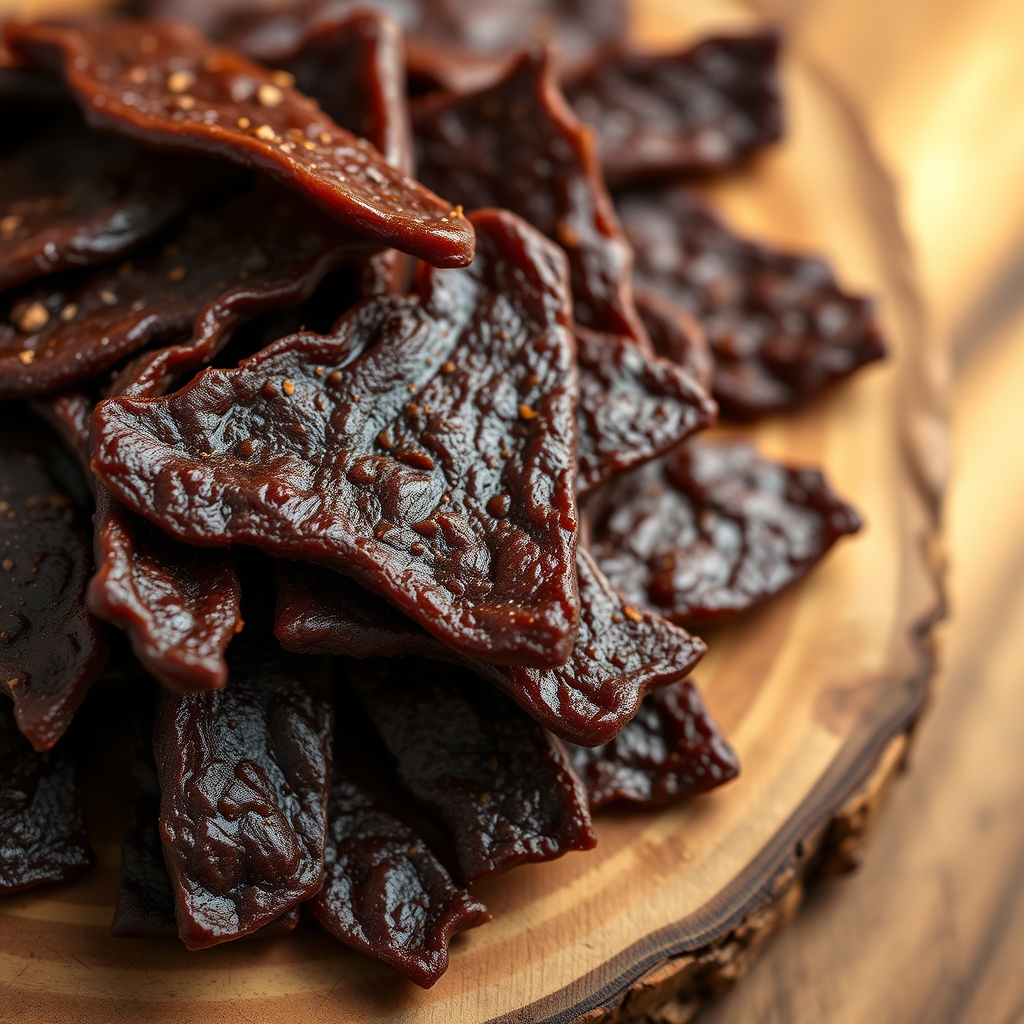
Your homemade jerky is ready when it’s dry and leathery, but still pliable. It should bend without breaking. If it snaps, it’s likely over-dried. If it feels too wet, it needs more time. Allow the jerky to cool completely on the racks before storing.
Pro Tip: For an extra safe jerky, some people choose to bake the jerky at 275°F (135°C) for 10 minutes after the drying process. This step heats the jerky to an internal temperature of 160°F (71°C), which can kill any remaining bacteria. It’s not strictly necessary if you’ve used lean meat and properly dried it, but it’s an option for added peace of mind.
Storing and Enjoying Your Awesome Creation
Proper Storage
Once completely cooled, store your awesome beef jerky in airtight containers, such as freezer bags or mason jars. Keep it in a cool, dark place. Properly stored homemade jerky can last for several weeks, but it’s often enjoyed much faster!
Serving Suggestions
Beef jerky is the ultimate portable snack. It’s perfect for hiking trips, road journeys, packed lunches, or just satisfying a midday craving. Pair it with nuts, fruit, or cheese for a balanced energy boost. You can also chop it up and add it to salads or trail mix for an extra protein punch and savory flavor.
Customization is Key
Don’t be afraid to experiment with your marinade! Consider adding a pinch of cayenne pepper for more heat, a bit of smoked paprika for a deeper smoky flavor, or even a touch of honey or brown sugar if you prefer a sweeter jerky. Teriyaki or Korean BBQ inspired marinades are also fantastic variations.
A Rewarding Culinary Adventure
Making awesome beef jerky at home is more than just a recipe; it’s a rewarding culinary adventure that yields a delicious and satisfying snack. With this guide, you have all the tools and knowledge to create jerky that will rival or surpass anything you can buy. Enjoy the process, savor the results, and get ready to impress yourself and others with your homemade jerky prowess!