The Ultimate Beef Rib Back Ribs Recipe: Fall-Off-The-Bone Perfection
Prep time: 20 minutes | Cook time: 3-4 hours | Servings: 4-6
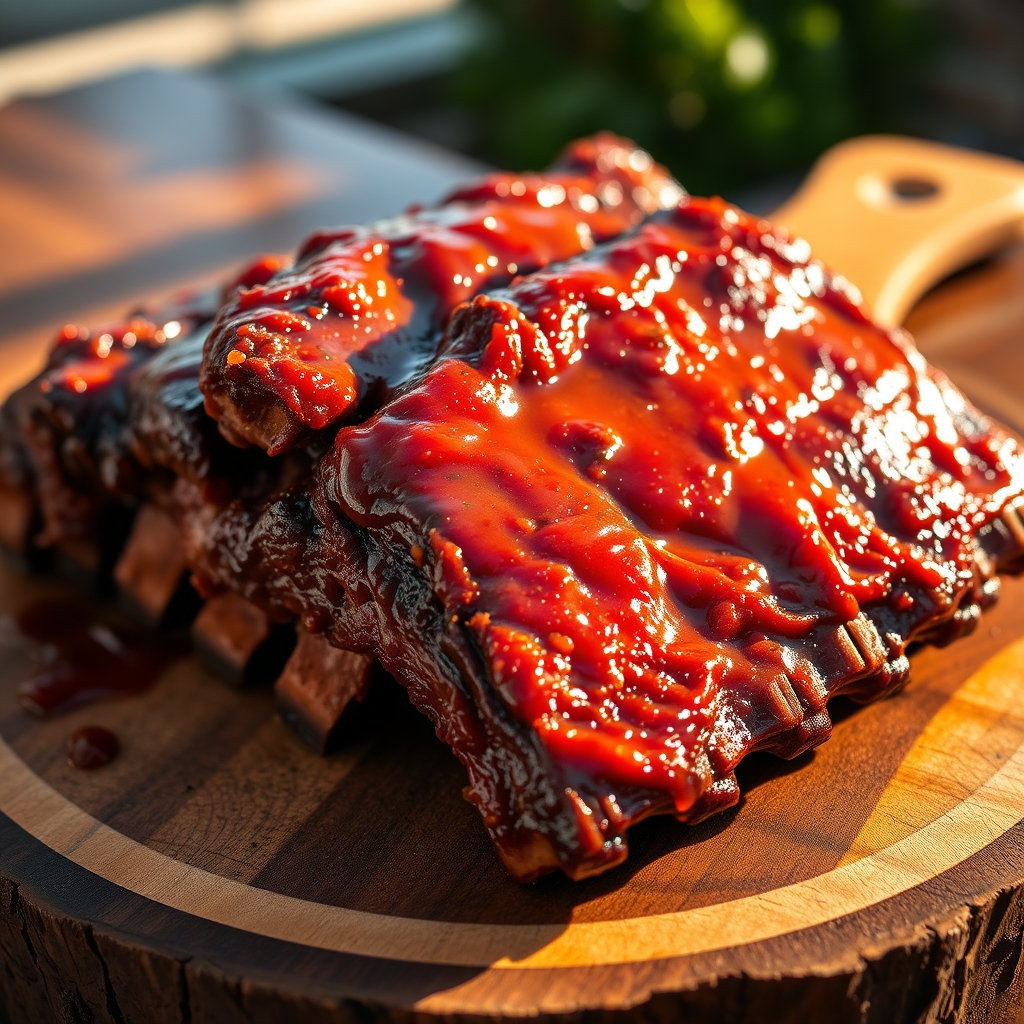
There’s something undeniably primal and deeply satisfying about a rack of tender, succulent beef back ribs. Often overshadowed by their larger counterparts, the short ribs, back ribs offer a leaner but equally flavorful experience, bursting with beefy goodness and coated in a rich, caramelized crust. This recipe is designed to deliver fall-off-the-bone tender ribs every single time, with a simple yet effective rub and a slow-cooking method that ensures maximum flavor and tenderness.
Whether you’re a seasoned pitmaster or a backyard grilling novice, this beef rib back ribs recipe is sure to impress. We’ll guide you through selecting the best ribs, creating a flavorful dry rub, and the best way to cook them to perfection, whether you’re using an oven, smoker, or grill. Get ready to elevate your barbecue game!
Ingredients You’ll Need
The beauty of great ribs lies in simplicity. High-quality beef and a well-balanced rub are all you need to let the natural flavors shine. For this recipe, we’re focusing on a robust dry rub that builds a fantastic crust while tenderizing the meat.
For the Ribs:
- 2-3 racks of beef back ribs (about 2-3 lbs each)
- 1/4 cup olive oil or other neutral oil
For the Dry Rub:
- 2 tablespoons brown sugar
- 1 tablespoon smoked paprika
- 1 tablespoon kosher salt
- 1 teaspoon black pepper, freshly ground
- 1 teaspoon garlic powder
- 1 teaspoon onion powder
- 1/2 teaspoon cayenne pepper (optional, for a little heat)
- 1/2 teaspoon dried thyme
For the Glaze (Optional):
- 1/2 cup your favorite BBQ sauce
- 2 tablespoons honey or maple syrup
How to Make the Perfect Beef Rib Back Ribs
The key to incredibly tender beef back ribs is a good rub and slow, moist cooking. We’re using a technique that involves a moderate oven temperature and allowing the ribs to braise in their own juices, creating a fork-tender meat that’s packed with flavor.
Step 1: Prepare the Ribs
- Remove the ribs from their packaging and pat them thoroughly dry with paper towels. This is crucial for allowing the rub to adhere and for developing a nice crust.
- Inspect the back of the ribs. You may find a thin, papery membrane. While optional, removing this membrane can help the rub penetrate better and make the ribs more tender. To remove it, slide a knife under a corner of the membrane and gently peel it off with a paper towel for grip.
- Lightly brush the ribs all over with olive oil. This will help the dry rub stick.
Step 2: Make the Dry Rub
- In a small bowl, combine all the dry rub ingredients: brown sugar, smoked paprika, kosher salt, black pepper, garlic powder, onion powder, cayenne pepper (if using), and dried thyme.
- Whisk the ingredients together until well combined.
Step 3: Apply the Rub
- Generously sprinkle the dry rub all over the oiled ribs, ensuring an even coating on all sides. Use your hands to pat the rub into the meat. Don’t be shy; you want a good, thick layer.
- For an even deeper flavor, you can let the rubbed ribs rest at room temperature for about 30 minutes, or refrigerate them for up to 4 hours to allow the salt to start curing the meat.
Step 4: Slow Cook the Ribs
- Preheat your oven to 300°F (150°C).
- Place the rubbed ribs on a baking sheet, bone-side down. You can line the baking sheet with parchment paper or aluminum foil for easier cleanup.
- Cover the baking sheet tightly with aluminum foil. This traps the moisture, essentially braising the ribs and making them incredibly tender.
- Bake for 3 to 3.5 hours, or until the meat is very tender and starting to pull away from the bones. The internal temperature should reach around 195-200°F (90-93°C) for optimal tenderness.
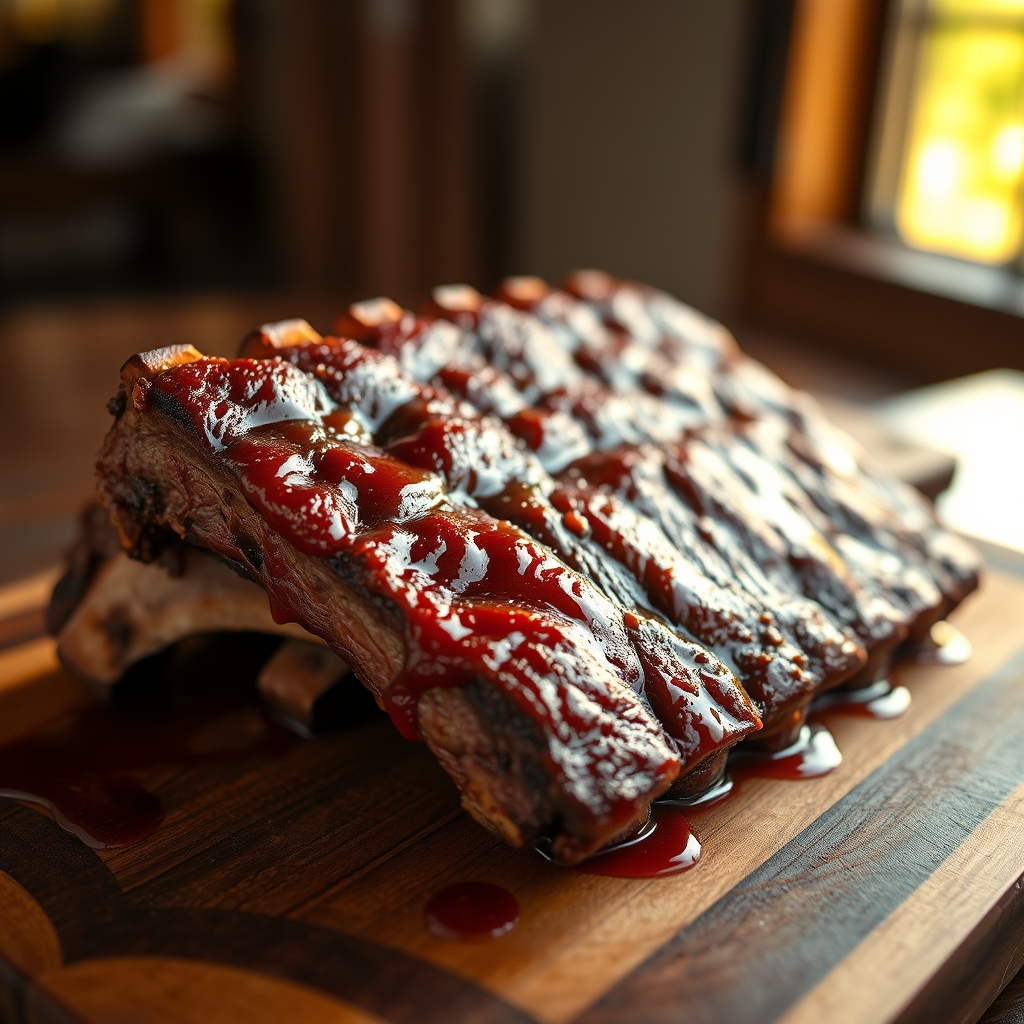
Step 5: Glaze and Finish (Optional)
- If you’re using a glaze, mix your BBQ sauce and honey together in a small bowl.
- Remove the foil from the ribs during the last 30 minutes of cooking. Brush the ribs generously with the BBQ glaze.
- Increase the oven temperature to 350°F (175°C) and continue to bake, uncovered, for another 30 minutes, allowing the glaze to caramelize and become sticky. Keep an eye on them to prevent burning.
- Once done, remove the ribs from the oven and let them rest for 10-15 minutes before cutting. This allows the juices to redistribute, resulting in more tender and flavorful meat.
Pro Tips for Rib Mastery
Pro Tip: Don’t crowd the baking sheet! If you are cooking more than two racks, use two separate baking sheets. Overcrowding can cause the ribs to steam rather than roast, impacting the development of that delicious crust.
Choosing Your Ribs
Look for racks with good marbling – those little flecks of fat within the meat are what provide flavor and moisture. Thicker ribs will generally take a bit longer to cook but are often more rewarding. Ensure the meat covers the bones well.
Smoking or Grilling Option
This recipe can easily be adapted for a smoker or grill. Preheat your smoker or grill to around 225-250°F (107-121°C). Smoke the ribs, wrapped in butcher paper or foil (the “Texas Crutch”), for about 2-3 hours, then unwrap and continue cooking until tender, applying glaze during the last hour if desired. Alternatively, smoke them unwrapped until tender, basting occasionally.
The Membrane Dance
Removing the membrane on the back of the ribs isn’t strictly necessary but is highly recommended. It’s a tough layer that can prevent the rub from penetrating and can become chewy. A sharp knife and a paper towel for grip are your best friends here.
Serving Suggestions
These tender beef back ribs are a showstopper on their own, but they pair beautifully with classic barbecue sides. Imagine serving them alongside creamy coleslaw, a hearty potato salad, baked beans, or some grilled corn on the cob. A simple side of crusty bread to sop up any extra juices is also a must!
For a feast, consider slicing the racks into individual or double-rib portions. They are best enjoyed immediately, but leftovers can be stored in the refrigerator and reheated gently. They also make for fantastic pulled beef sandwiches if you shred the meat off the bone.
Enjoy Your Ribs!
Crafting perfect beef back ribs is a rewarding culinary journey. This recipe simplifies the process, ensuring you achieve that desirable tenderness and rich, smoky flavor without needing to be a professional chef. The combination of the sweet and savory rub, slow cooking, and optional glaze creates a rib that’s incredibly satisfying and undeniably delicious. Gather your friends and family, fire up the oven, and enjoy these magnificent beef back ribs!